This repair is of today. Yesterday there was an accident with a glass of red wine, it was spilled over this Humax tuner remote control.

 Note it is important to quickly remove the batteries in case such a spill happens, to avoid additional damage from leakage of the batteries. Thus not simply let it dry, remove the batteries first!
Opening is usually a bit nasty, since it involves prying with a knife and/or small screwdrivers. I’m using a Wera component lifter, a kind of screwdriver for the purpose of prying, but a normal small screwdriver works just as well here.

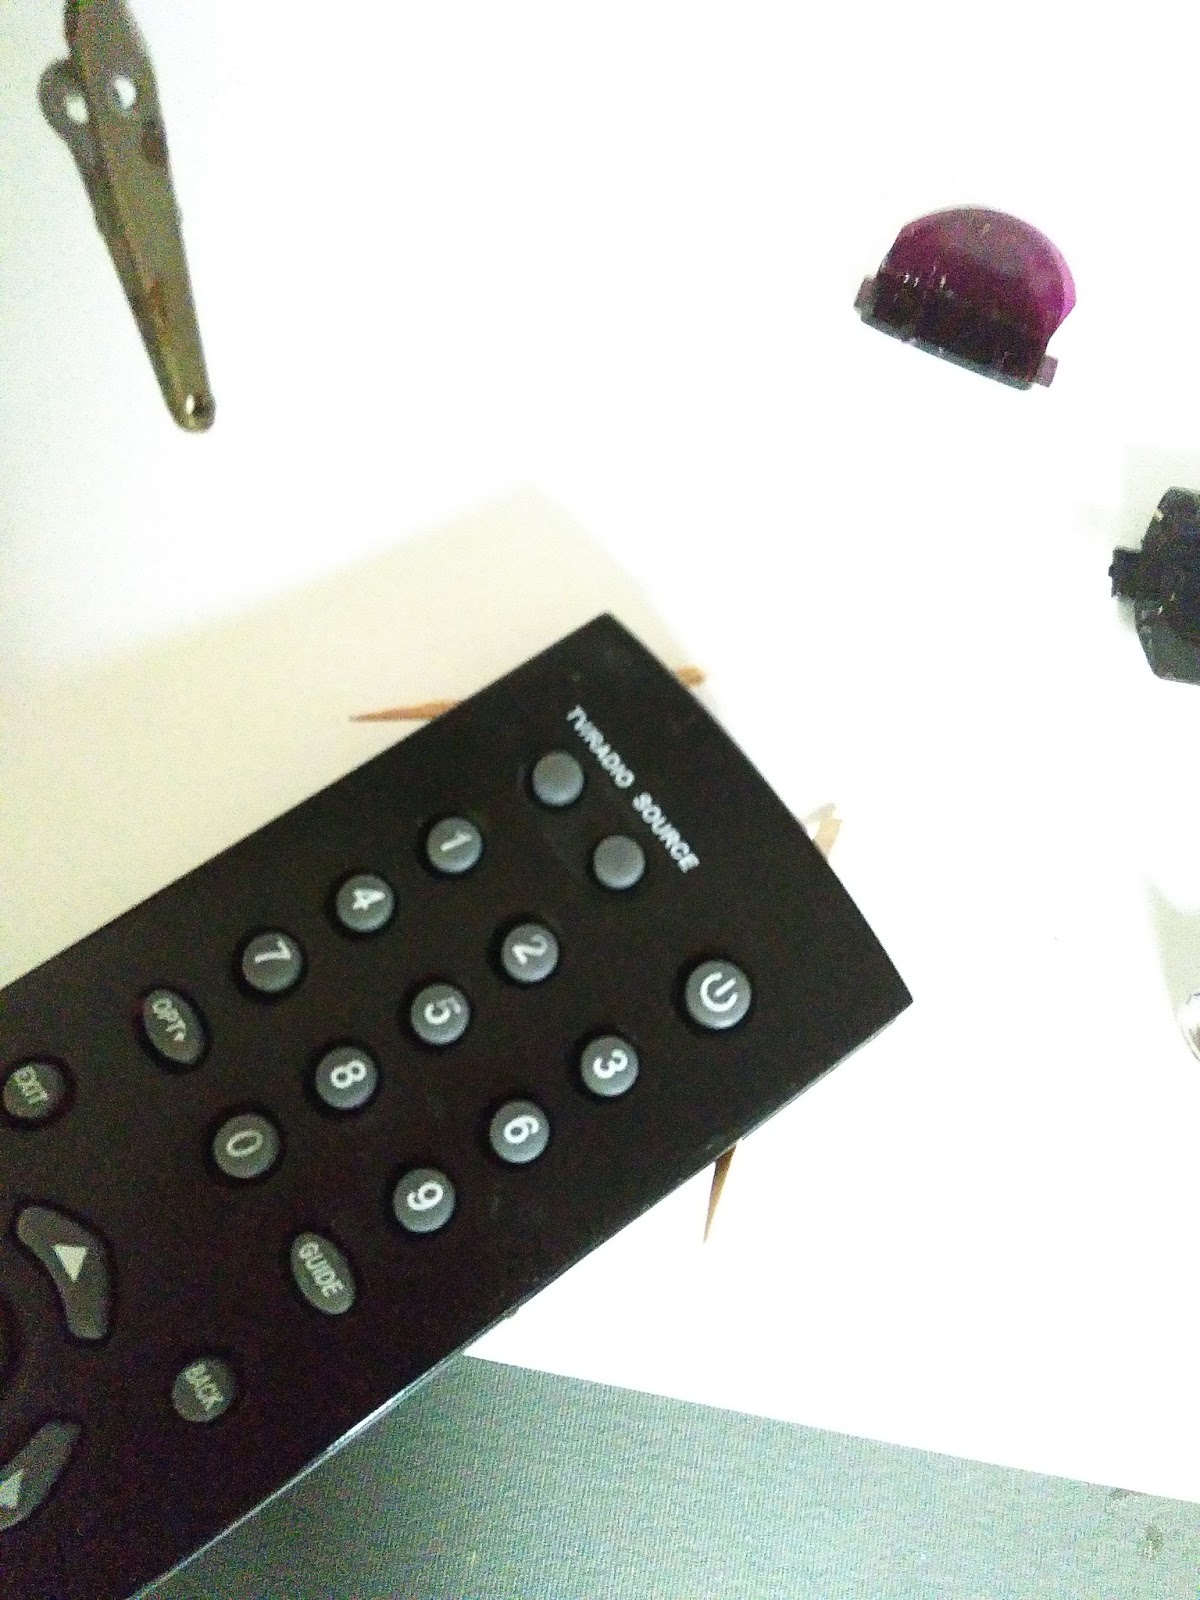
 I made a start at the top, the thin end of the remote control. After I made a start, I insert some toothpicks to keep the enclosure open. I managed to keep the damage to one broken tab this time, but
usually it happens to me one or more tabs break. It’s a bit unavoidable
with these cheap plastic enclosures.
I made a start at the top, the thin end of the remote control. After I made a start, I insert some toothpicks to keep the enclosure open. I managed to keep the damage to one broken tab this time, but
usually it happens to me one or more tabs break. It’s a bit unavoidable
with these cheap plastic enclosures.
After it all opened up, it appeared the wine got sticky and in between the circuit board and the rubber keys. It likely shorts these contacts, and it must be cleaned to make the buttons work again. Thus I put the case parts and the rubber key mat into soapy water for a while. The circuit board I just cleaned with plain water and dry it with a paper towel.
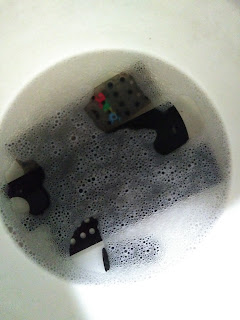
Remote controls tend to gather quite some dirt and this is actually a good reason to give it a proper cleaning. One can also use an old toothbrush or similar to give it a gentle rub.
When inspecting the circuit board, it appeared one of the battery tabs was actually not properly soldered. To avoid a future contact problem, I soldered it in place as it should have been.

 After all parts were dried, assembled all parts back, and the result is as new :)
 Note the tuner itself was featured before in this post.


Opening is usually a bit nasty, since it involves prying with a knife and/or small screwdrivers. I’m using a Wera component lifter, a kind of screwdriver for the purpose of prying, but a normal small screwdriver works just as well here.
 I made a start at the top, the thin end of the remote control. After I made a start, I insert some toothpicks to keep the enclosure open. I managed to keep the damage to one broken tab this time, but
usually it happens to me one or more tabs break. It’s a bit unavoidable
with these cheap plastic enclosures.
I made a start at the top, the thin end of the remote control. After I made a start, I insert some toothpicks to keep the enclosure open. I managed to keep the damage to one broken tab this time, but
usually it happens to me one or more tabs break. It’s a bit unavoidable
with these cheap plastic enclosures.After it all opened up, it appeared the wine got sticky and in between the circuit board and the rubber keys. It likely shorts these contacts, and it must be cleaned to make the buttons work again. Thus I put the case parts and the rubber key mat into soapy water for a while. The circuit board I just cleaned with plain water and dry it with a paper towel.

Remote controls tend to gather quite some dirt and this is actually a good reason to give it a proper cleaning. One can also use an old toothbrush or similar to give it a gentle rub.
When inspecting the circuit board, it appeared one of the battery tabs was actually not properly soldered. To avoid a future contact problem, I soldered it in place as it should have been.


Comments
Post a Comment